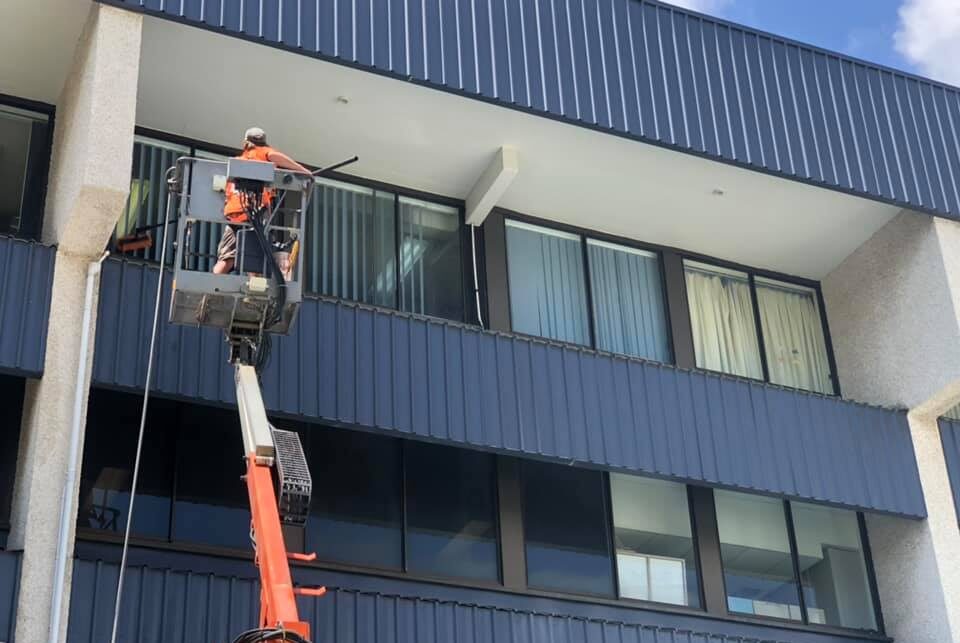
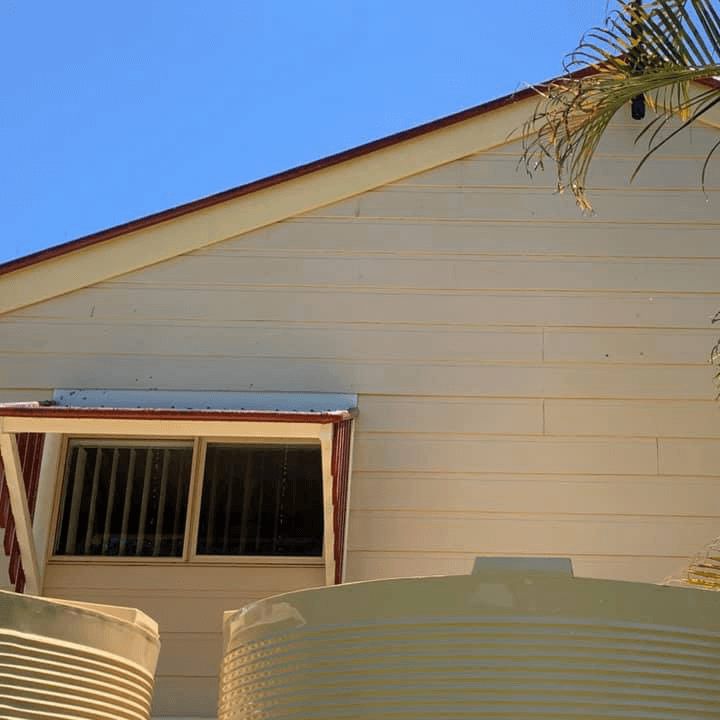
Master how to soft wash painted and rendered walls safely using low pressure and targeted detergents. This method removes mould, mildew, and grime without etching, preserving finishes, preventing water ingress, and extending the life of exterior coatings significantly. You’ll plan dilution ratios, control dwell time, and refine rinsing technique, ensuring a uniform result that protects trims, seals, and adjacent landscaping without unnecessary wear.
Steps On How To Soft Wash Painted and Rendered Walls Safely
1. Start With a Gentle Pre‑Rinse
Lightly wet surfaces to reduce detergent shock and improve spread. Avoid saturating gaps, vents, or weep holes to prevent internal moisture issues. Pre‑rinsing also cools hot walls in sunny weather, reducing flash‑drying and streaking.
2. Apply the Right Detergent Mix
Use a manufacturer‑recommended house wash solution, diluted per instructions. Add surfactants for better cling on vertical surfaces and organic growth. Mix only what you’ll use in one session and label sprayers to avoid cross‑contamination with harsher cleaners.
3. Work in Manageable Sections
Apply from the bottom up to avoid streaking, allow proper dwell time, and agitate stubborn spots with a soft brush where needed. Overlap passes slightly, and keep edges wet so transition lines don’t dry patchy or leave “tide marks.”
4. Rinse Top‑Down at Low Pressure
Rinse with a wide‑fan tip, maintaining a safe distance to protect finishes. Pay attention to ledges and trim where residue can collect. Use a clean water source and check runoff paths so detergents don’t pool on decks, paths, or garden beds.
5. Detail Edges and Sensitive Areas
Hand‑clean around fixtures, light fittings, vents, and seals. Wipe windows and sills promptly to prevent spotting or detergent marks. Finish with a microfiber cloth on glossy trims to eliminate water beading and faint streaks.
Pro Tip: Test a small, inconspicuous patch first. Note any chalking, colour lift, or soft render areas, then adjust dilution and dwell time before proceeding across the full facade. Photograph the test area so you can match technique and timing consistently on the rest of the walls.