
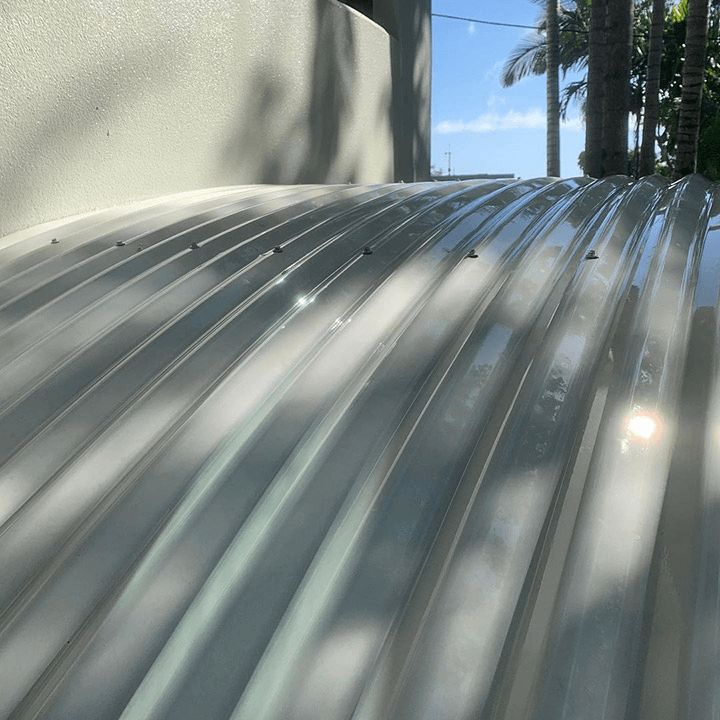
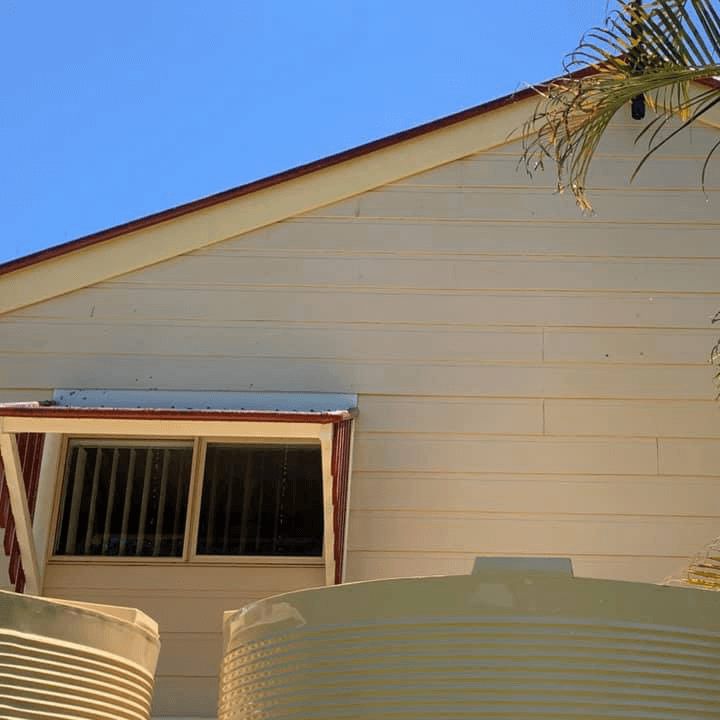
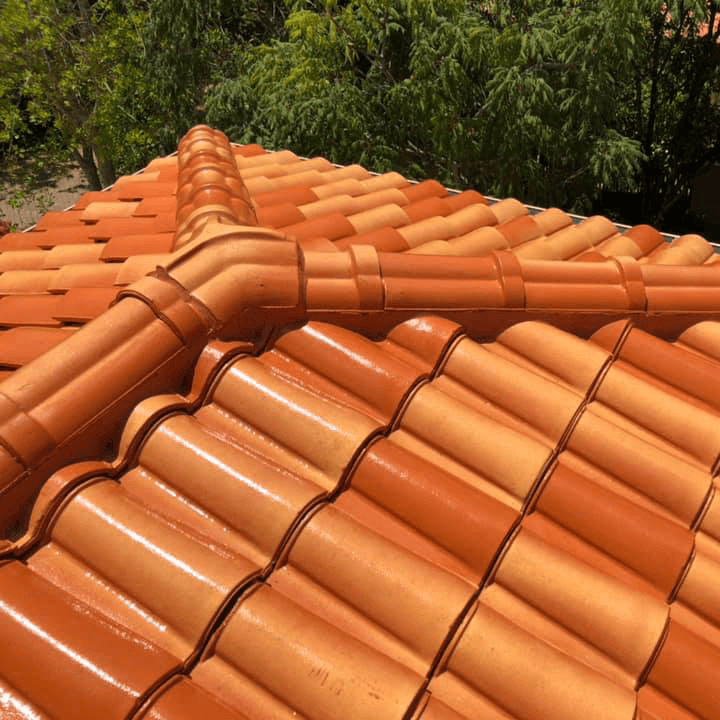
Knowing how to remove mould and mildew during house washing is essential for protecting your home’s exterior and maintaining a healthy environment. Mould and mildew thrive in damp, shaded areas—especially on rendered walls, painted cladding, and roofs. Left untreated, they can stain, damage finishes, and affect air quality. A safe cleaning process tackles the root cause, not just the stains, using eco-friendly products, low-pressure washing, and proper aftercare to prevent regrowth.
Steps On How To Remove Mould and Mildew During House Washing
1. Inspect and Test First
Before starting, inspect your surfaces to determine the extent of the growth and test a small patch using your chosen cleaner. This helps confirm that the chemical mix won’t damage paint, render, or sealants. Check for cracks, leaks, or damaged gutters that may be contributing to excess moisture—these should be fixed before or soon after cleaning.
2. Identify Growth and Causes
Inspect your walls, eaves, and paths to confirm whether you’re dealing with mould, mildew, or general dirt buildup. Mould appears as dark or greenish patches that return quickly after rain, while mildew tends to be lighter. Common causes include shaded walls, leaking gutters, and irrigation overspray that keeps areas damp. Mapping these problem zones helps you target treatments accurately and achieve longer-lasting results.
3. Choose an Appropriate Biocide To Remove Mould and Mildew
Use a proven mould and mildew remover or biocidal cleaner that’s compatible with your exterior surfaces such as painted cladding, render, or Colorbond steel. Follow dilution instructions carefully and pre-wet surrounding plants to protect them from runoff. Avoid mixing products like bleach and ammonia, which can react dangerously or damage finishes. A soft-washing solution with sodium hypochlorite or quaternary ammonium compounds can break down organic growth without high pressure.
4. Allow Proper Dwell Time
After applying the cleaner, allow enough dwell time typically 5 to 15 minutes for it to penetrate deeply. Agitate textured areas with a soft brush for better results, and lightly re-wet sections that dry too soon. When rinsing, work from top to bottom using low pressure to avoid streaks. Flush joints, trims, and window frames thoroughly, and rinse nearby paths or plants to remove residue and prevent ghosting.
5. Prevent Rapid Regrowth
Once clean, prevent mould from returning by improving airflow and sunlight, trimming nearby plants, repairing leaks, and redirecting irrigation. For persistently shaded areas, plan a maintenance soft wash or light biocidal rinse every few months. Applying a protective surface coating on porous materials can also reduce future moisture absorption.
Pro Tip: After rinsing, apply a post-treatment biocide to freshly cleaned surfaces. This invisible barrier helps stop spores from reattaching and keeps your walls, eaves, and paths mould-free for longer especially in high-humidity or coastal environments.